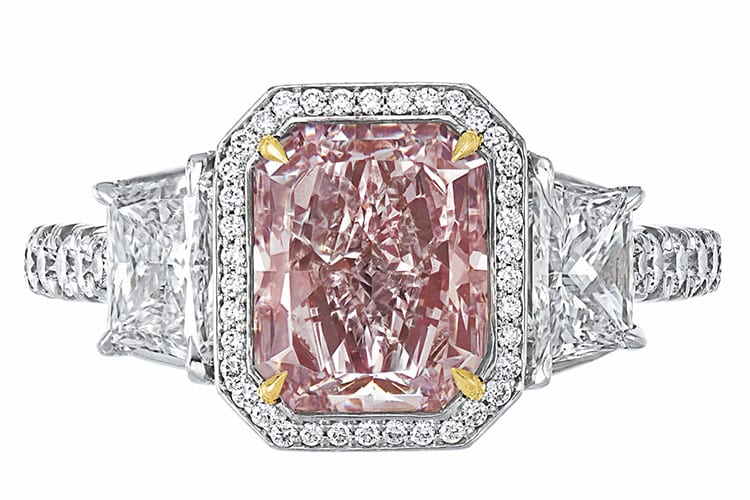
When shopping for a diamond, you’ll get a lot of advice about what to look for in the stone itself: the infamous 4C’s (cut, clarity, carat, and color) plus more subtle things like presence, fire, and lumiescence.
But even once you’ve taken all the things into consideration, and picked out what you think is the perfect diamond, you may still hear that little voice in your head: “Are you sure it’s really the right one?” Or maybe you’ve narrowed it down to two different diamonds, and need to figure out which is the better deal. This is no easy question, as the factors involved range from technical details (e.g., like the size of the stone’s table) to financial conditions (e.g., the state of the diamond market) and personal concerns (your fiancé’s favorite diamond shape).
That’s where our diamond comparison tool comes in. This tool allows you to enter important information for each diamond, then our algorithm will crunch the numbers and tell you which diamond to buy (or confirm that the one you already bought was a good deal.)
Even better, the tool features an adjustable model of a ring finger, so you can get a sense of what the diamond will look like on your fiancé’s hand.
Why You Need The Diamond Comparison Tool
Here are some of the things you need to consider when choosing a diamond for an engagement ring:
It’s got to be the right size for her hand
If you’re fiancé is a wispy little waif with thin, elegant fingers, you don’t want to give her a massive meatball of a ring. On the other hand, if she’s a big-boned mama, a small stone on a delicate band will look like a toy, as if you’re trying to save money by buying her something from the children’s section.
It’s got to be the right shape for her finger
The diamond shape you settle on is largely a matter of taste, but there are some things to keep in mind. Round shapes work with almost any type of finger (one reason Round is by far the most popular diamond shape); pear, oval, or marquise shapes help visually elongate shorter fingers; emerald and rectangular stones work better on wider fingers, etc.
You’ve got to match the stone with the right ring width
A huge cushion cut diamond won’t look great on a thin little band, nor will a delicate little marquise sit well on a thick platinum band. Creating the perfect ring involves finding the proper proportions.
How To Use The Diamond Comparison Tool
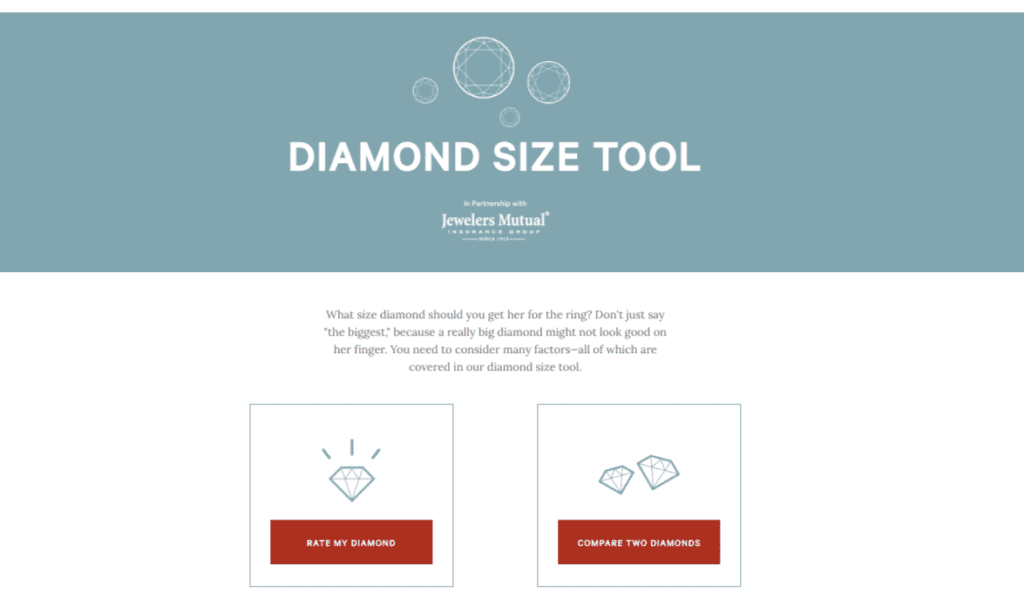
Step 1: Launch the Tool
Go to our Toolbox page and scroll down to the Diamond Comparison Tool:

Step 2: Pick Your Goal
You can either rate a diamond you’ve chosen or are thinking of buying, or you can compare two different diamonds on a variety of criteria including shape, cut, clarity, and color.
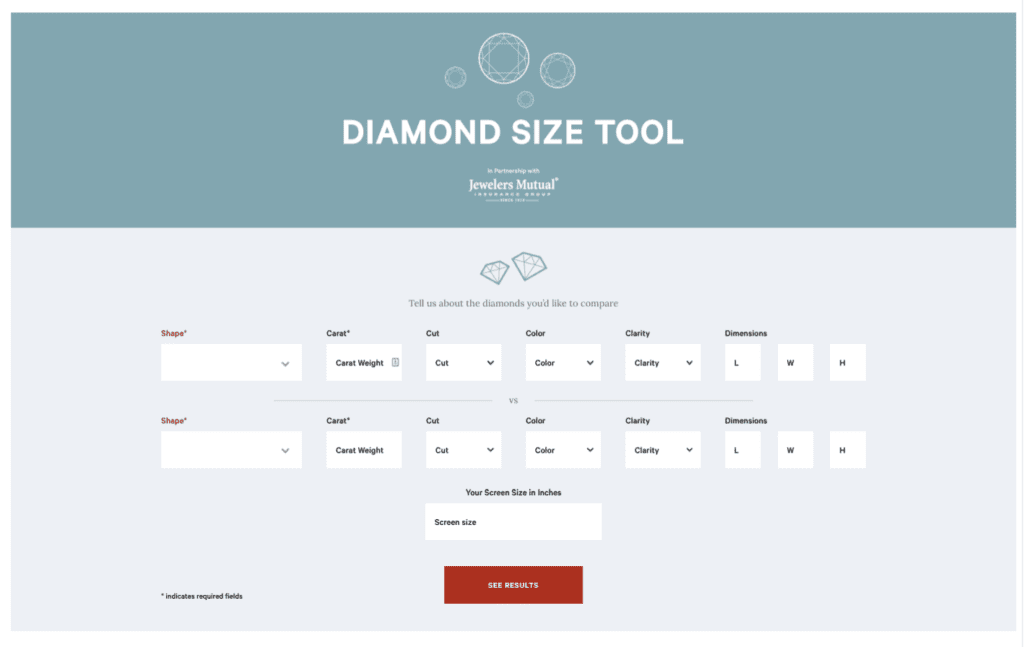
Step 3: Enter the Ring’s Info
Whether you’re rating one diamond or comparing two, this is where you enter all the information.
Some of the data such as shape, cut, and carat weight should be at your fingertips, as you likely used it to pick out your stone in the first place. For others, such as clarity and color, you can refer to the diamond report or spec sheet you should have been given by the dealer. Ditto for the diamond’s measurements: a length/width/depth ratio usually expressed in millimeters. Don’t worry if you don’t have these measurements: the tool will fill them in based on the other criteria.
Step 4: Get the thumbs up (or down!) on your stone
When you press the SEE RESULTS button, the tool compares your information to a reference diamond of the same shape in our database. If it detects any deviations that might affect the stone’s appearance or value, it will show in the results, and you can reconsider your purchase.
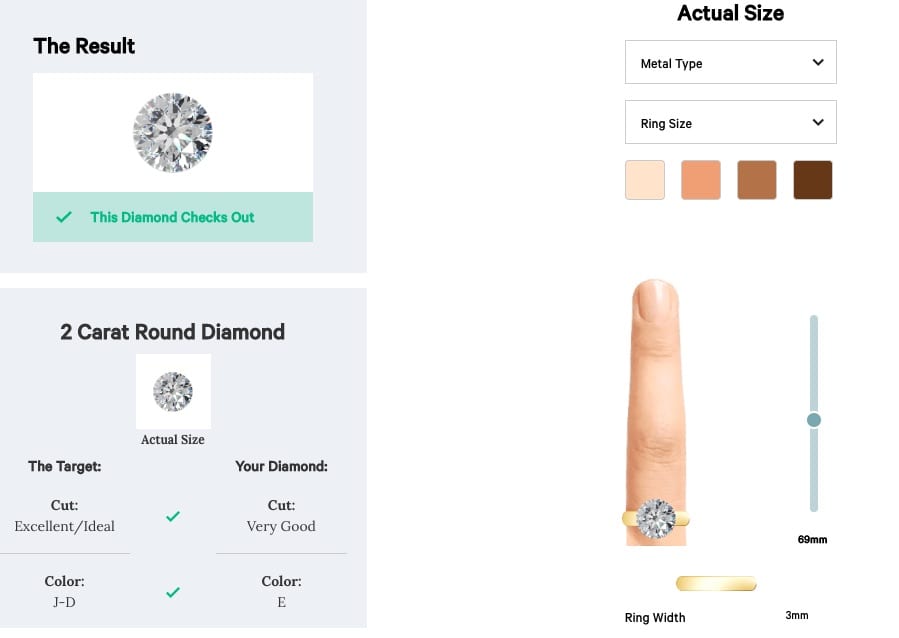
Step 5: See your stone on the ring simulator, and adjust.
Once you’ve entered all the info, you’ll be shown how the diamond looks on a typical ring and a typical finger.
Above the image of the finger(s) are fields to adjust:
- The type of ring metal;
- The ring size;
- Skin tone
Next to the image is a slider that allows you to adjust the length of the finger, and directly underneath is a slider that allows you to adjust the thickness of the ring.
Play around with these settings and you’ll be able to get an almost exact idea of how the ring can look on your loved one’s finger.
The Bottom Line
Underneath the diagram of the ring simulator, you’ll find an explanation of the significance and history of the type of stone shape you’ve chosen.
Congratulations–you now know that the diamond you’ve picked is the right one–or that you’ve got to keep looking.